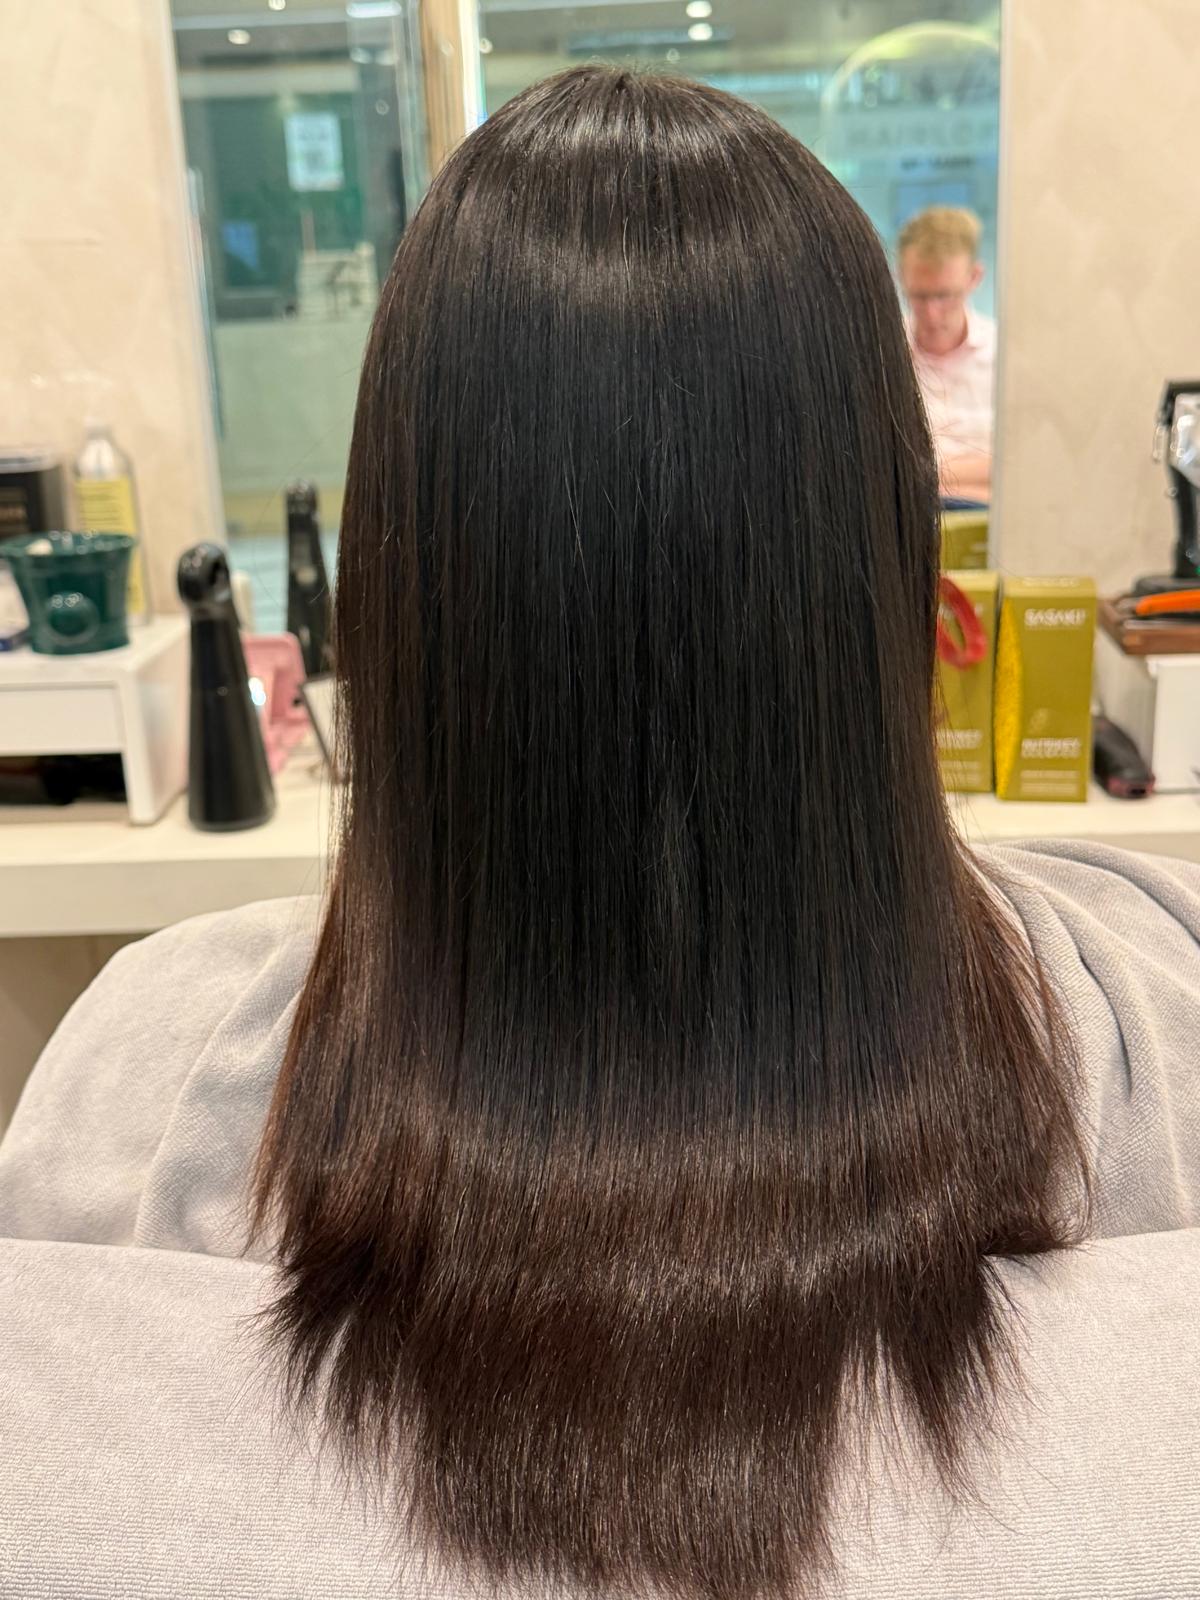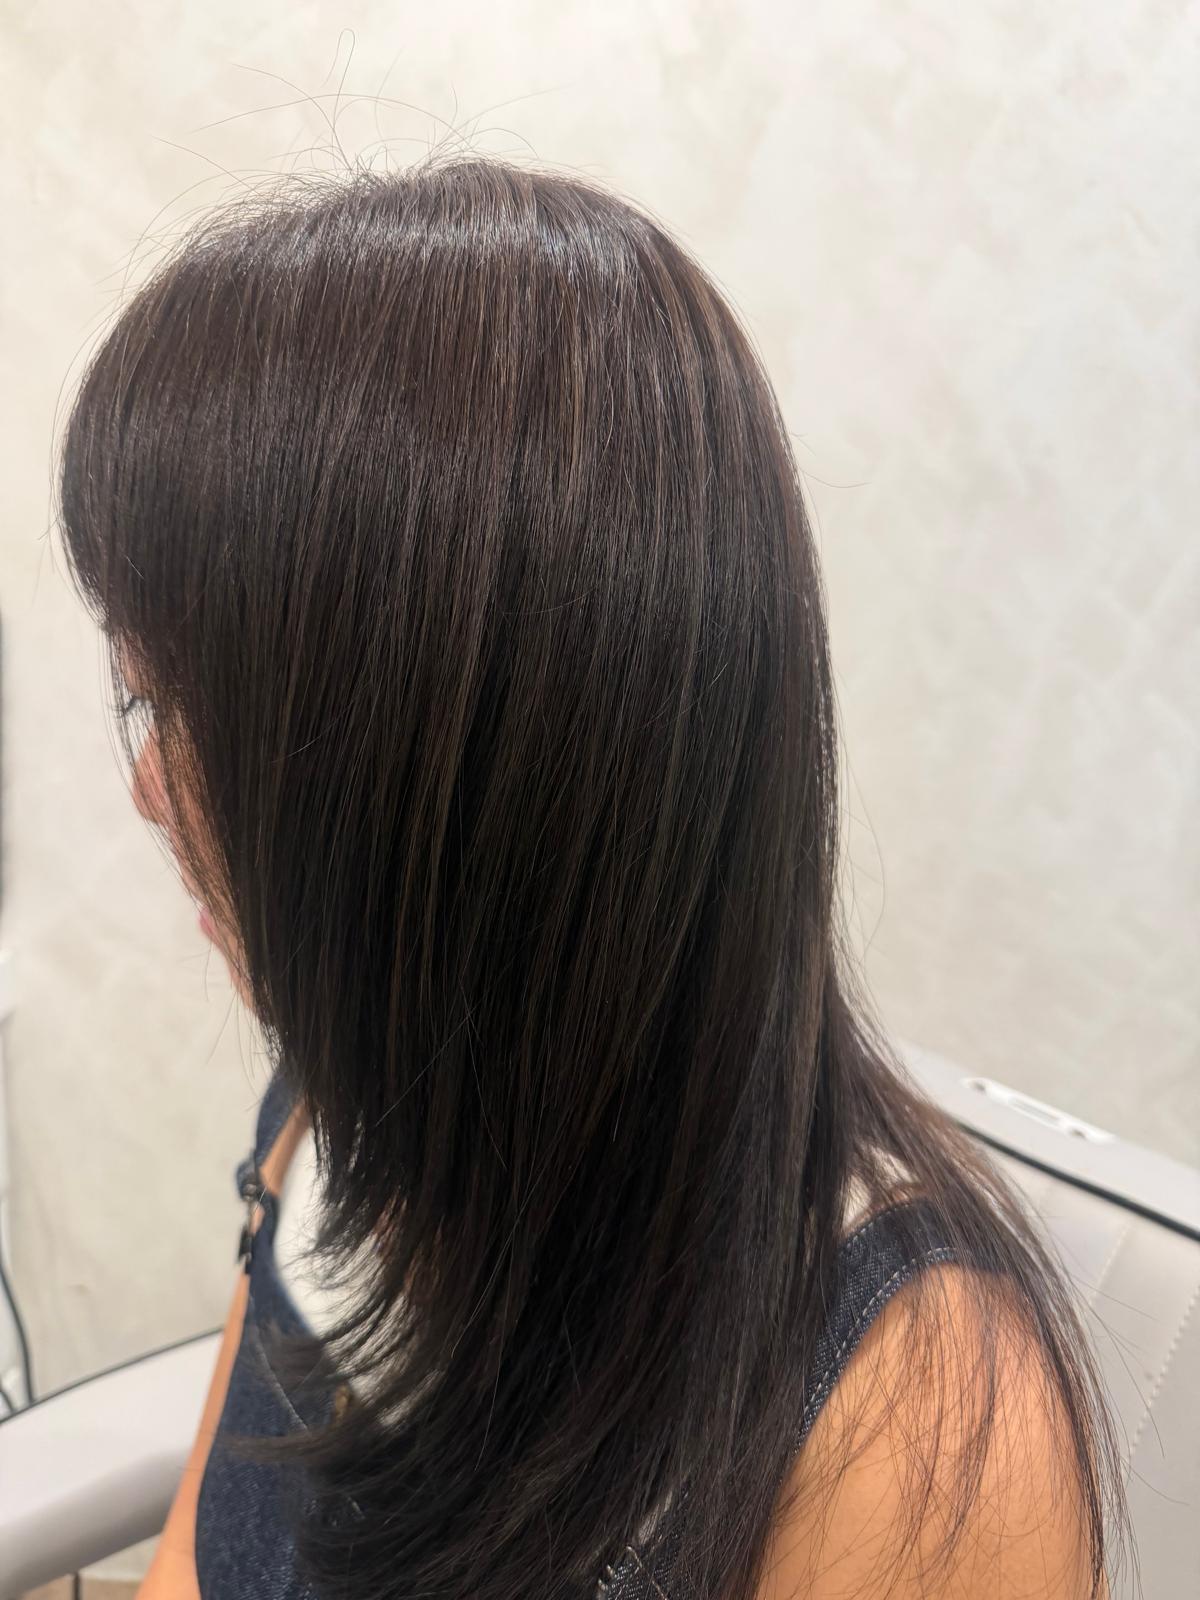
Haircut Reference Photos: How to Explain Length Without Guesswork
A reference photo is useful because it shows a shape you like. It becomes much more useful when you can explain which parts you want to borrow. The person in the image may have a different length, density, parting and styling routine, so “exactly this” can leave important questions unanswered.
Before your appointment, choose one main reference and a small number of supporting pictures. Label the features you like in ordinary language. You do not need a vocabulary of cutting techniques to give a clear brief.
Distinguish finished length from the amount removed
“Take off three centimetres” describes an amount, while “I want the dry ends to sit below my collarbone” describes a result. Both can help, but they are not interchangeable. Ask the stylist to show the proposed finished length on your own hair before cutting.
Hair pulled straight, sitting naturally and styled into a bend can appear at different lengths. Specify the view that matters to you: usually how it will sit dry in your everyday routine. If you want to retain a minimum length, point to that boundary clearly.
Name the four areas separately
| Area | A useful description |
|---|---|
| Overall length | “The longest ends should finish here when dry.” |
| Front pieces | “I want these to tuck behind my ears.” |
| Layers | “I like movement, but do not want very short sections near the crown.” |
| Bottom outline | “Keep a substantial edge rather than a very tapered finish.” |
This separation prevents a common misunderstanding: keeping the longest length while changing the shorter sections much more than you expected. Discussing each area also helps identify which parts of the reference may conflict with your normal ponytail or parting.
Identify the styling in the picture
Look for turned ends, lifted roots, carefully separated waves or a polished fringe. Ask which of those features would require styling on your own hair. A photo does not show the preparation, tools or time behind the finish.
If you normally air-dry, say so. If you are happy to blow-dry the front but not the whole head, say that too. The stylist can discuss a version of the shape that fits those choices instead of assuming you want to reproduce the full photographed routine.
Bring a boundary as well as an inspiration
Choose an example of something you do not want, and explain the specific detail. “These ends look too sparse for my taste” is more useful than dismissing a whole picture. You may like its length while preferring a different outline.
Also show your current hair in an ordinary photograph. The starting point matters. You might be asking for a small adjustment from your current shape, or for a substantial change that needs a fuller discussion about length and maintenance.
A front-only image leaves the back open to interpretation. If the back shape matters, bring a second view or ask the stylist to sketch the outline in the mirror. Do the same for the shortest side pieces, which can disappear behind the model’s ears in photographs.
Repeat the agreed brief before cutting
Summarise it in two or three sentences: “Keep the overall length below this point. The front must still tuck, and I want a softer outline without very short layers.” Ask the stylist to confirm the main trade-offs and show the proposed shortest sections.
A brief can change during the consultation if you understand why. The important thing is to agree the new version explicitly. At the finish, check the hair in the positions you use most often, including behind the ears or gathered into a tie.
Explore Hairloft’s women’s haircut services. When you arrange your appointment, bring your main reference and a short note on the length and everyday functions you want to preserve.