Growing Out a Fringe: A Plan Based on Where It Reaches
Growing out a fringe is easier to discuss when the goal is expressed as a shape rather than a deadline. “I want these pieces to join the rest of my hair” is useful. “I need them gone in four weeks” may leave you frustrated, because the starting length and the way you wear your hair both matter.
Use where the fringe reaches as your guide. The ideas below are styling options to discuss and try, not a fixed growth timetable. You can move between them as the front becomes easier to tuck, sweep or tie.
When it sits near your eyes
This stage often creates a practical conflict: you want more length, but you also want clear vision. Before reaching for scissors, try a slightly shifted parting or a small clip placed where the fringe naturally separates. Check the result while looking down at your phone and turning your head, not only facing a mirror.
If you prefer to keep wearing the fringe forward, tell the stylist that you are growing it out. Ask what any proposed trim will change. A maintenance cut may make the current shape easier to wear, but it also removes some of the length you are trying to retain.
When it reaches the upper cheek
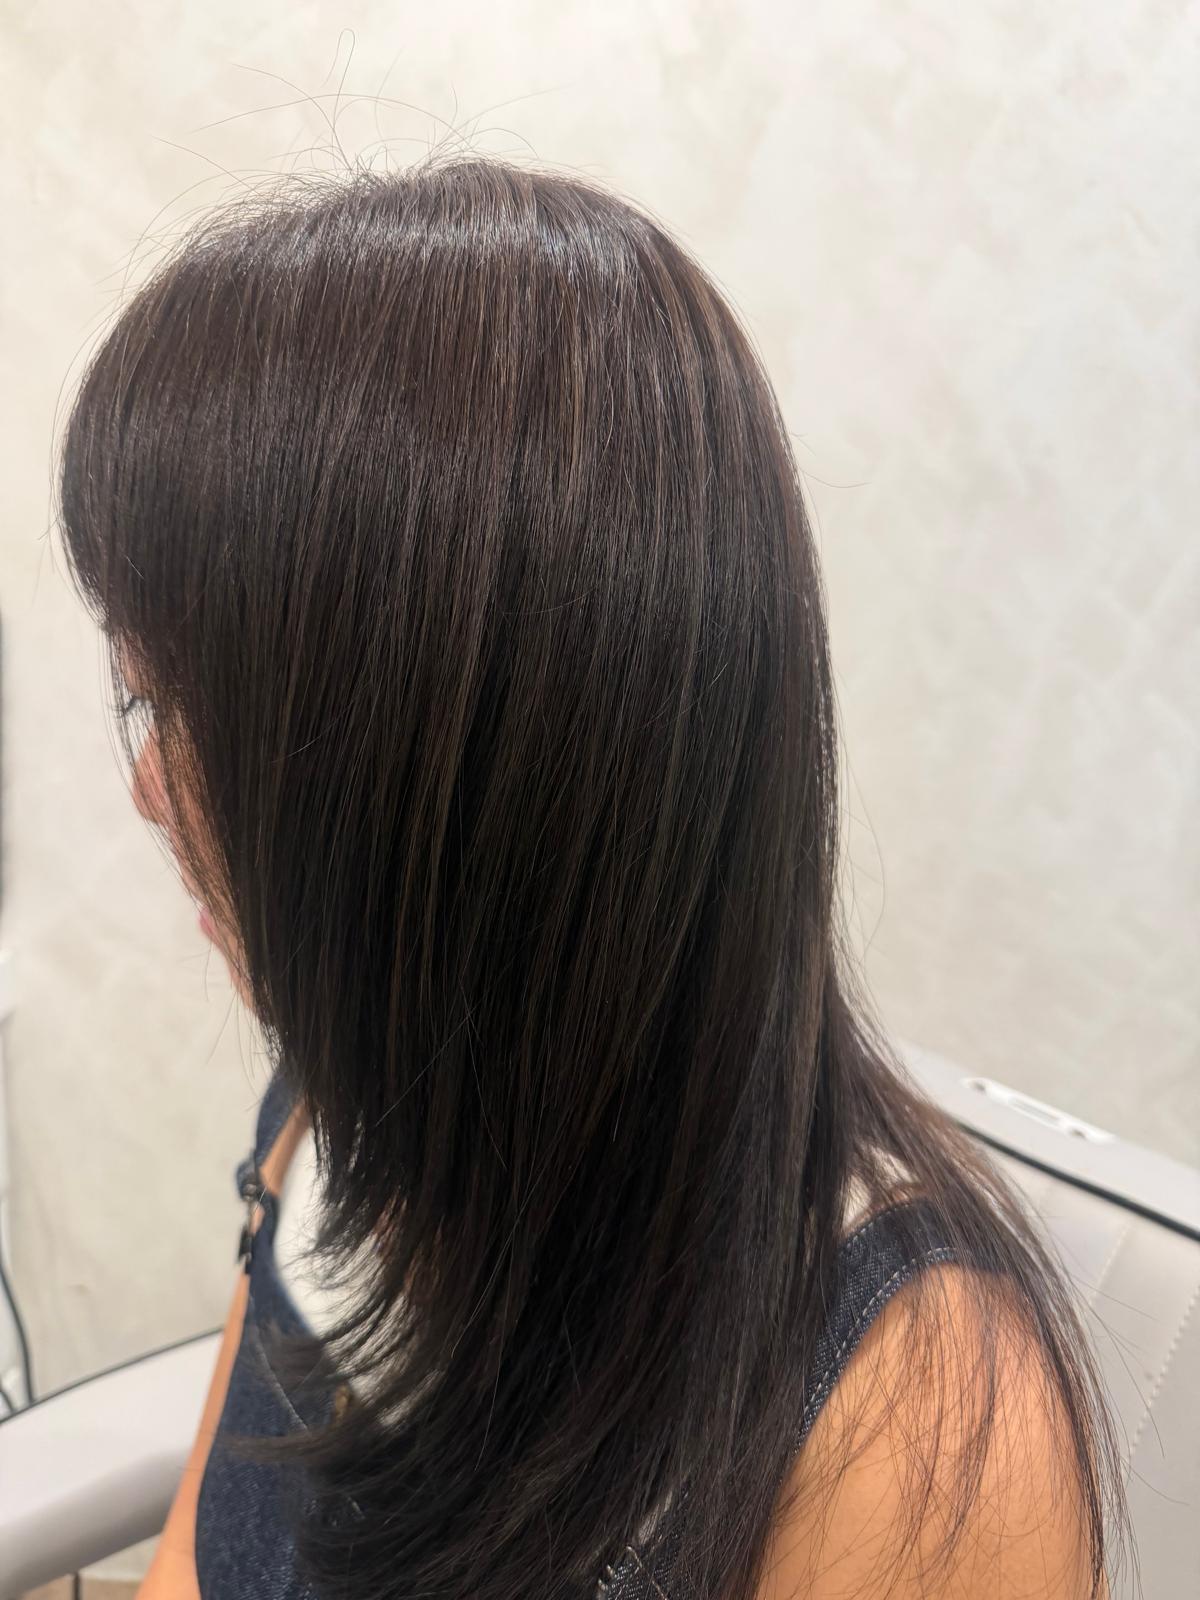
Cheek-length pieces may begin to read as face framing, especially when worn to one or both sides. Try your usual parting first. Then move it slightly and compare how much arranging each version takes. You do not have to commit to a centre part just because a reference image shows one.
For glasses wearers, test the pieces with your frames on. Check whether they sit outside the arms, tuck behind them or keep dropping forward. The most useful salon feedback is specific: “This side catches on my glasses” tells the stylist more than “My fringe is annoying.”
When it approaches the jaw
The discussion can shift towards how the front joins the sides. There may still be a visible step between the former fringe and the longer hair. Ask the stylist to show you the connection they propose, and how much adjacent hair would need to be shortened to create it.
Blending is a design choice. You may prefer to keep a distinct shorter front for now instead of sacrificing more length elsewhere. If you wear a ponytail, demonstrate it before agreeing to new face-framing sections.
Make a small styling kit, not a complicated routine
- A clip that holds the amount of hair you actually need to move.
- A familiar brush or comb for setting your parting.
- A photograph of a front section you like at a similar length.
- A second photograph showing how you want the front to look eventually.
When using a dryer, follow its instructions and use a comfortable setting. Ask for a demonstration with the tools you have at home. A technique that requires extra equipment or a long morning routine may be less useful than a tidy clipped option.
Decide what success means at the next appointment
Choose one immediate aim: keep hair out of your eyes, make it easier to tuck, soften a visible step, or retain every possible bit of length. It is easier to assess the result when you have agreed which of those matters most.
Take a quick photo of your ordinary weekday styling before visiting. It shows the issue more clearly than hair that has been carefully arranged for the appointment. You can also note which side is harder to manage and whether the problem happens only after tying it up.
View Hairloft’s salon services for cuts and styling. To discuss a fringe transition, arrange a consultation and bring both your current-length and eventual-goal pictures.