How to Reset Hat or Helmet Hair Without Piling on Product
A cap can flatten the top while leaving a ridge around the sides. A helmet may also push the fringe into a direction it would not normally take. Adding a fresh layer of product on top often leaves you with more coating but the same shape. A more useful reset starts with deciding whether the hair needs to dry, be lightly re-dampened or simply be lifted at the roots.
Let the hair settle before restyling
Remove headgear only when it is safe and appropriate. If your hair is damp from the commute, allow it to cool and blot excess moisture gently with a clean towel if one is available. Avoid vigorous rubbing, which can make an already uneven shape harder to control. Check what is actually wrong once the hair is no longer pressed down.
Is the whole top flat, or is there one bent section? Does the fringe need moving, while the sides look fine? Targeting the affected area keeps the reset manageable. A pocket comb and access to a little water may be enough for a modest restyle; you do not need to recreate a full salon finish after every journey.
Reset the roots, not only the ends
If the hair has set in an awkward direction, lightly dampen the relevant section from near the roots. Wetting only the ends can leave the base pointing the same way. Guide the section with your fingers or a comb, then let it dry in the intended direction. If you have access to a dryer, keep it moving at a comfortable setting.
For a flattened top, lift small sections instead of pulling the entire hairstyle upwards. For a folded fringe, reset the front separately. Stop when the shape looks wearable. Continually touching hair while it is settling can undo the direction you have just created, especially if you keep pushing it both forwards and backwards.
Add product only after assessing what remains
Your morning product may still be present. Start by redistributing what is already there with clean hands, following its instructions about reworking or adding water. If you need more, use a small amount and spread it between your palms before touching the hair. Concentrating a fresh blob at the front can create a heavy patch.
Do not assume a harder-setting product will solve the pressure from headgear. It may simply leave a more noticeable flattened shape. Experiment on an ordinary day with a lighter application and a finish that can be rearranged. The most useful product is one that fits your actual routine and washes out as directed.
Use a simple post-commute sequence
- Take off the headgear when safe and allow damp hair to settle.
- Check the top, fringe and sides separately.
- Lightly dampen only sections with a persistent bend.
- Guide the roots into place and dry or let them settle.
- Use a little extra product only if the shape still needs support.
- Check the back and stop adjusting once the result is comfortable.
Keep any small grooming kit clean, and follow the headgear manufacturer’s instructions for liner care. Do not alter a helmet’s fit, padding or straps to protect a hairstyle. Hair styling should work around the correct use of protective equipment.
Build the commute into your next haircut
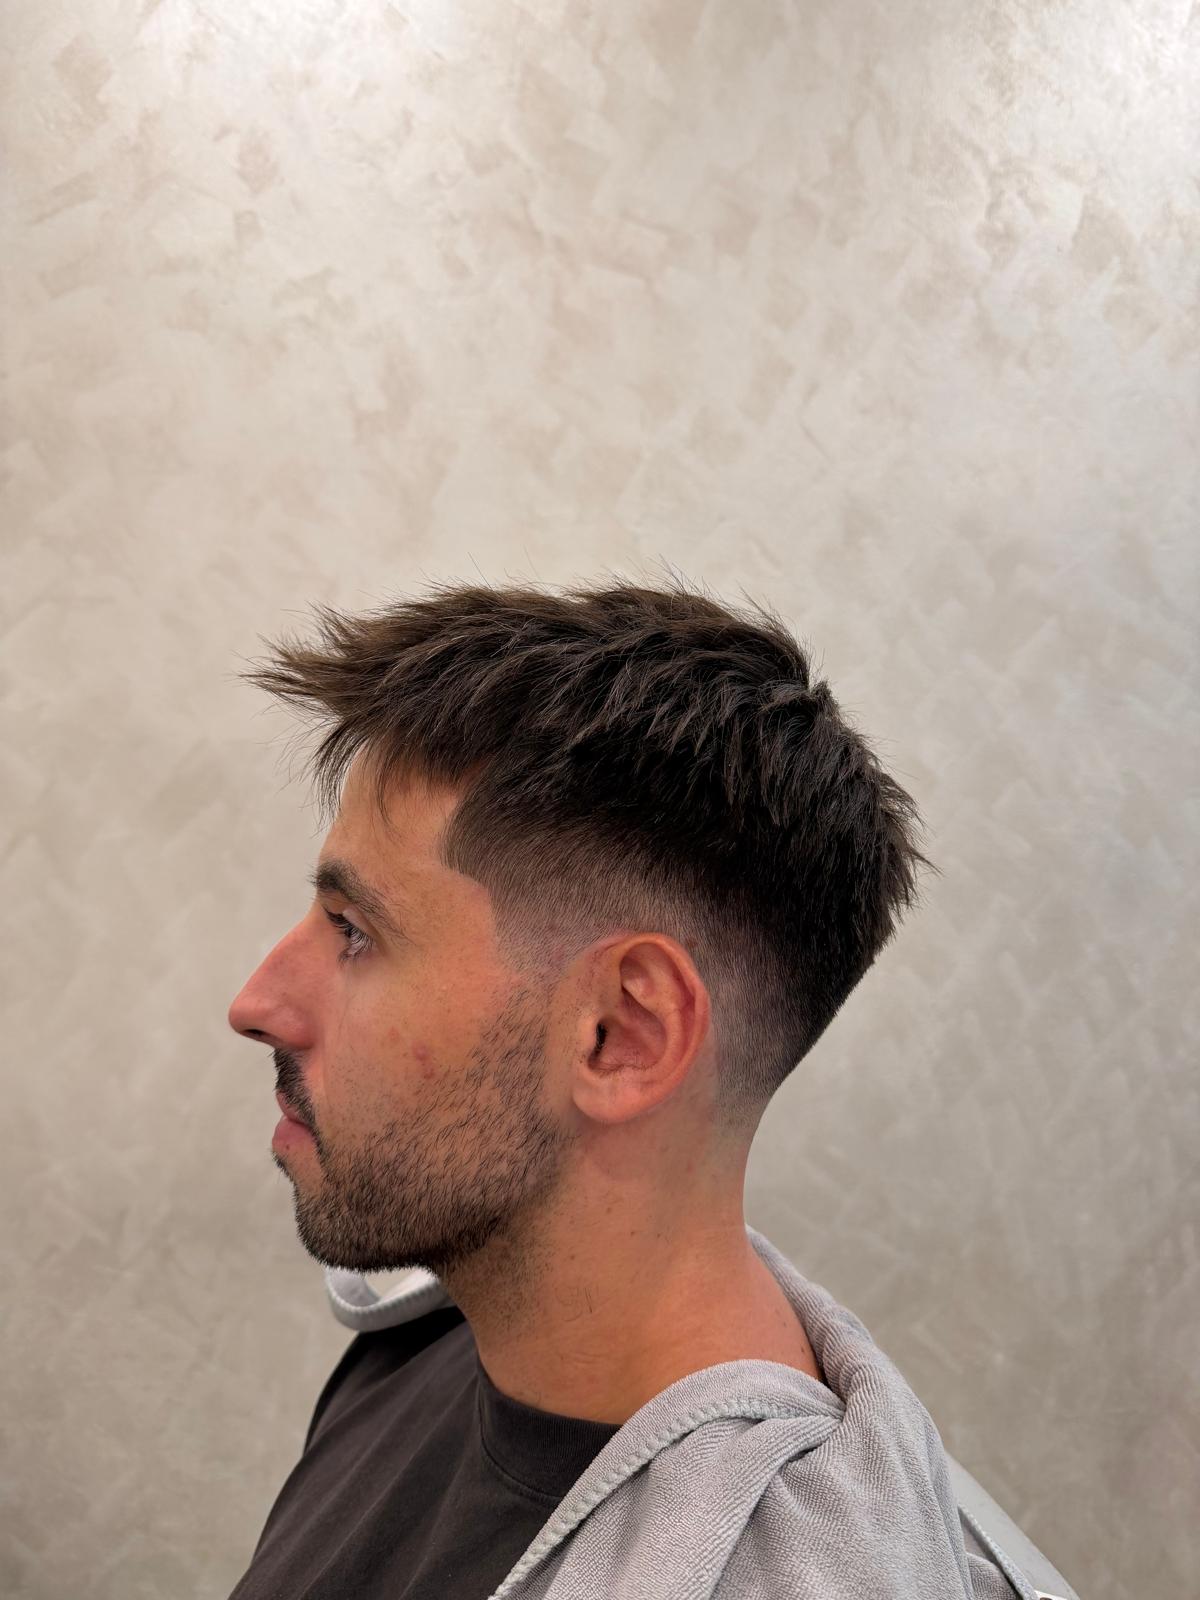
Tell your barber how often you wear a helmet or cap and what happens afterwards. A photo taken after your usual commute is useful evidence. You may prefer a finish with lower height, a fringe that can move in more than one direction, or sides that do not depend on a precise combed line.
Explore Hairloft’s men’s cuts and styling, then book a consultation with your commuting routine in mind. Ask for a realistic reset demonstration using the time and tools you normally have available.